Mad millinery
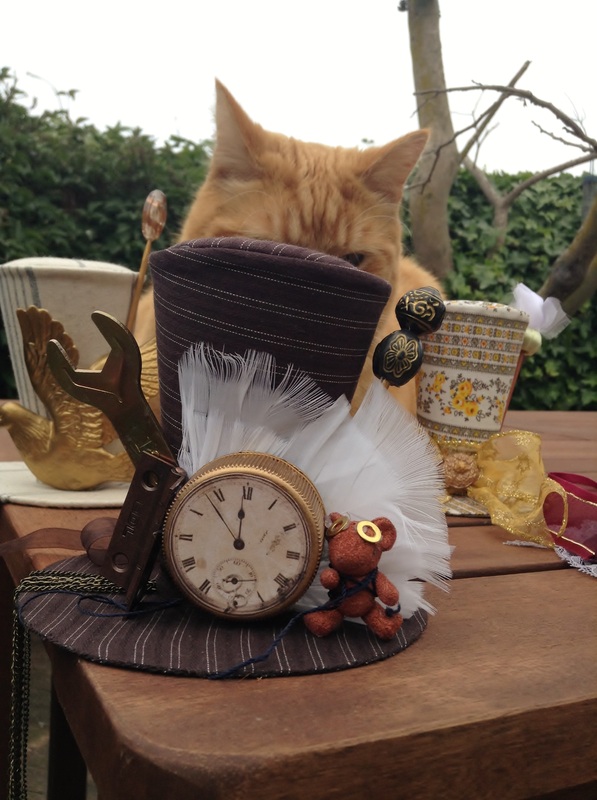
Reading can be a great inspiration. Having finally made my way to reading the Parasol Protectorate series (by Gail Carriger) I found myself in a hat making mood. I think it was the seaweed-like hat displays that did it. Taking a page from Madame Lefoux I made some hats.
These hats are quick, easy and quirky accessories to add to any outfit. Try wearing them to the races or a wedding.
The top hats are made to be attached to a hairclip, slide or headband.
You will need:
- Card
- Hot glue gun
- Fabric
- Glue (PVA or similar)
- Padding/foam
- Interfacing
- Stationary - pen, ruler, compass, scissors...
- Decorating extras - ribbon, beads, feathers.....
It's best to use construction paper or card to make the pattern, something with a bit of stability is best.
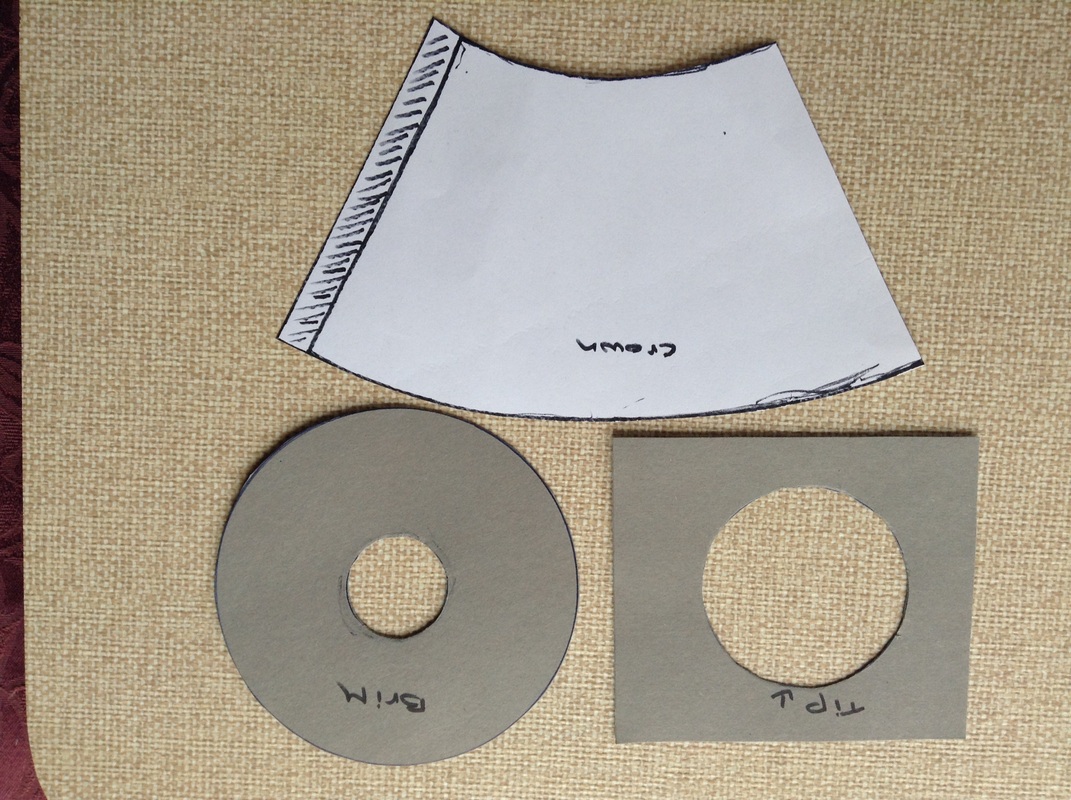
The toppers are made of three pattern pieces the brim, the crown, and the tip.
The brim is nice and easy to make, using a compass draw a circle (my hats have a brim that is about 11.5cm in diameter)
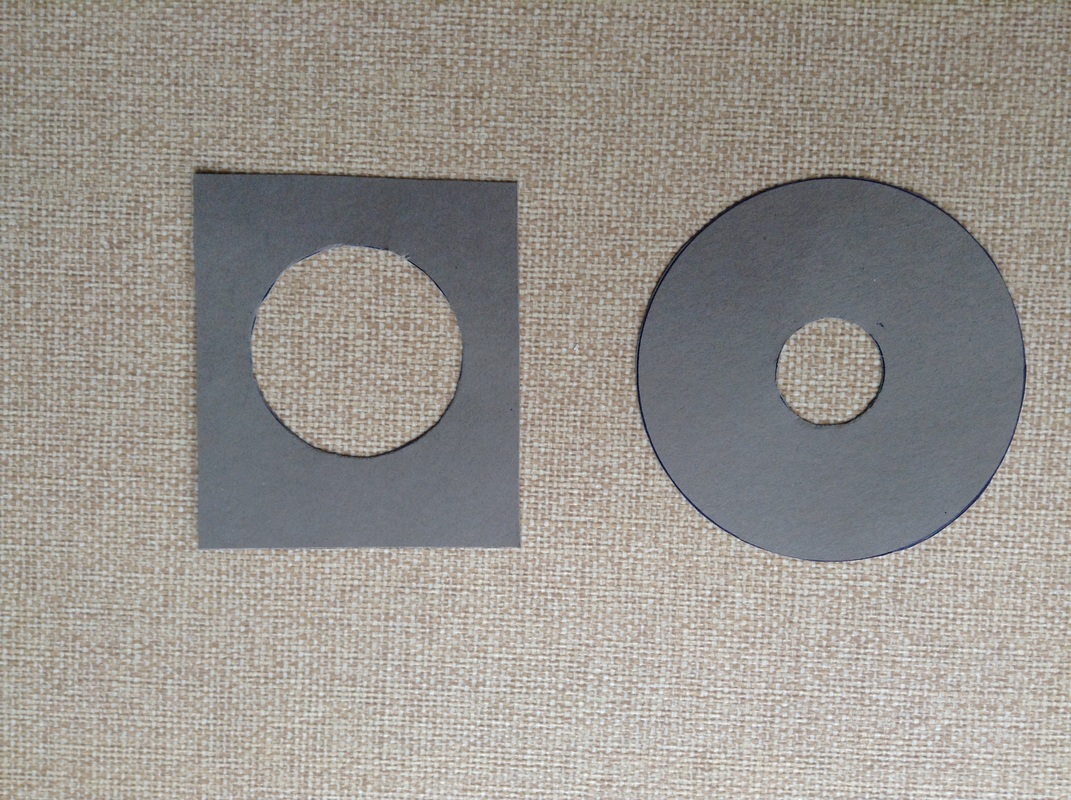
Draw a smaller circle inside inside the brim circle. make the circle as small as you want the base of your crown to be (in my hats this circle is 3cm in diameter) Cut both circles so you are let with a doughnut shape.
Trace another circle, this time for the tip of your hat. Make tis circle as big as you want the top of your crown to be (in my hats this circle is 6cm in diameter) Cut out the inside of this circle rather than the out side (see picture of brim and tip above)
Now to make the crown pattern completely math free!!!!
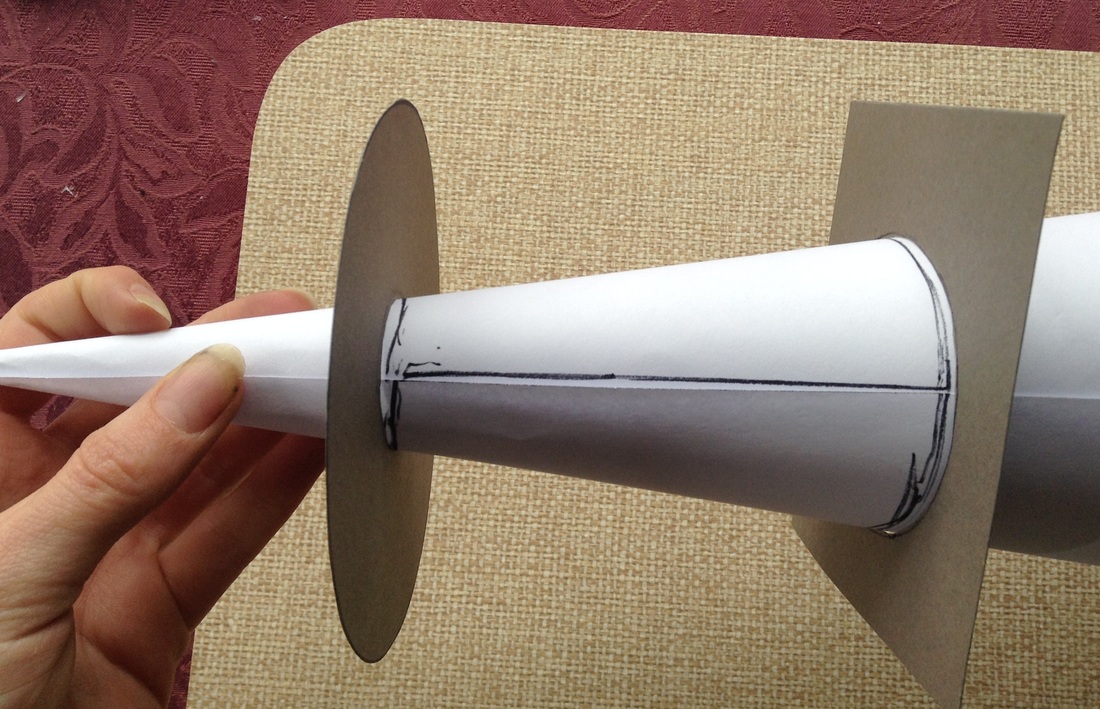
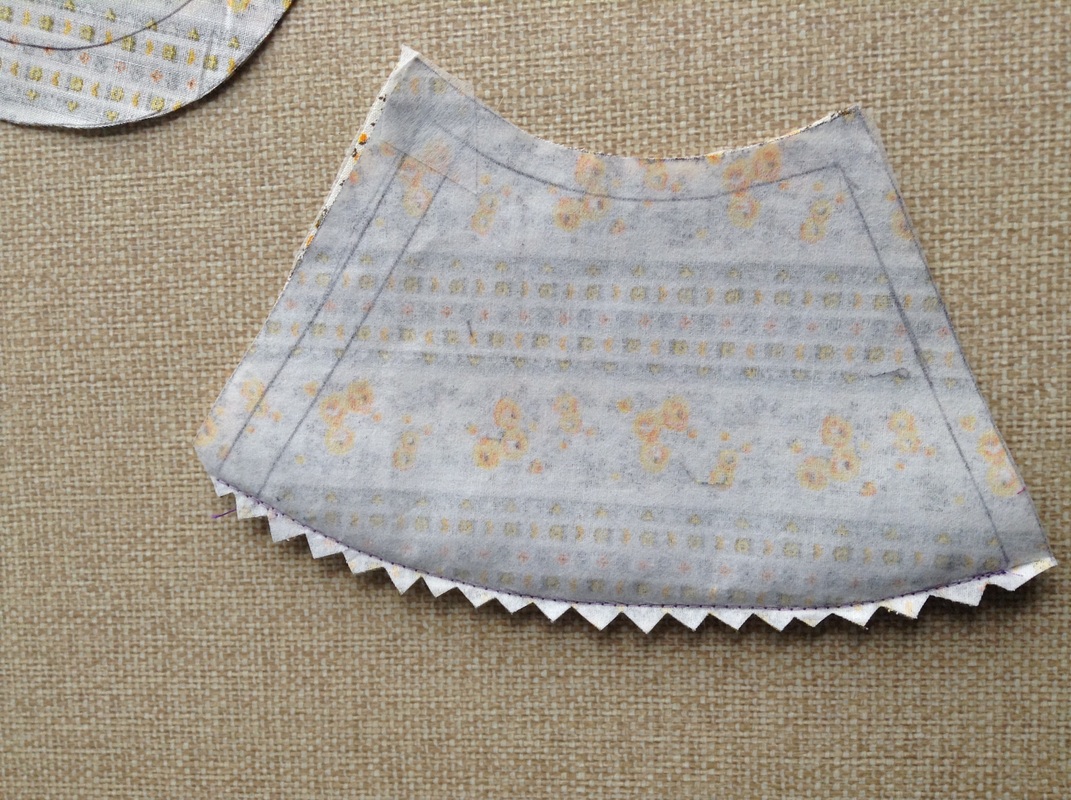
Roll a piece of paper into a cone. place cone through your two circles with the bigger tip circle at the wider end and the smaller brim circle at the narrower end. Use a vivid or pen to trace around each circle and down the join in the paper (see picture above)
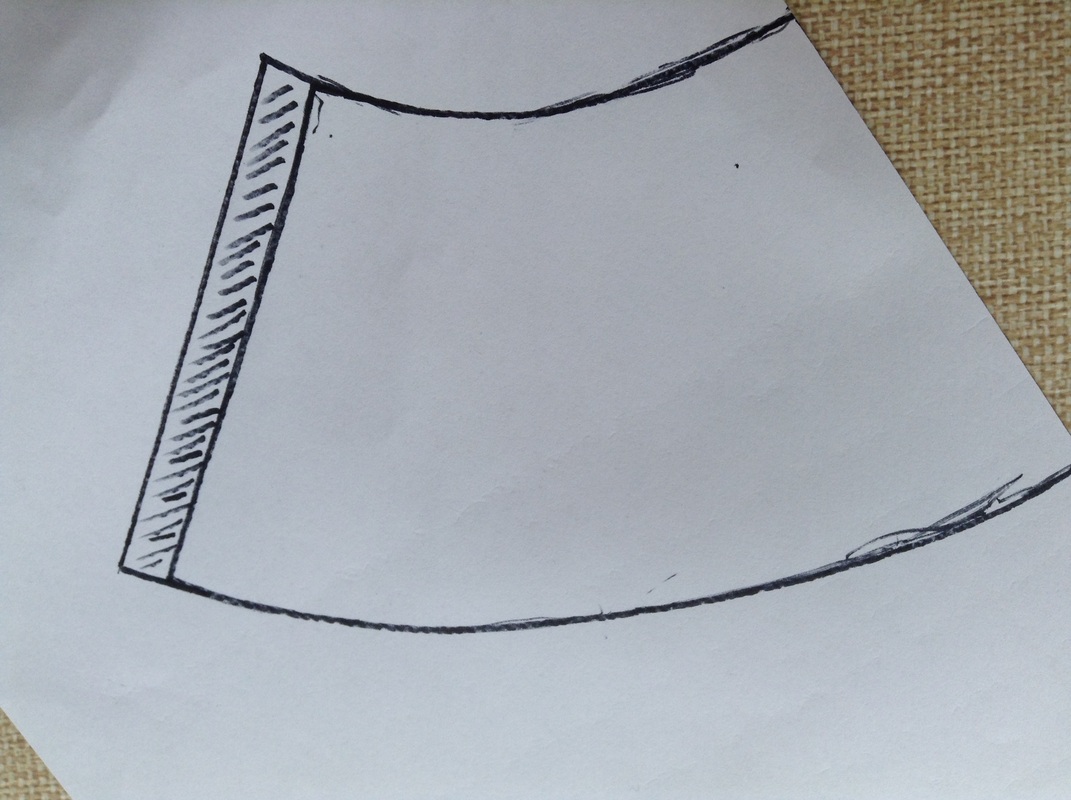
unravel the paper and you should have a traditional crown half circle, add a 1cm overlap the one end of the crown (see picture)
Cardboard base
The toppers are made of three pattern pieces the brim, the crown, and the tip.
The brim is nice and easy to make, using a compass draw a circle (my hats have a brim that is about 11.5cm in diameter)
Draw a smaller circle inside inside the brim circle. make the circle as small as you want the base of your crown to be (in my hats this circle is 3cm in diameter) Cut both circles so you are let with a doughnut shape.
Trace another circle, this time for the tip of your hat. Make tis circle as big as you want the top of your crown to be (in my hats this circle is 6cm in diameter) Cut out the inside of this circle rather than the out side (see picture of brim and tip above)
Now to make the crown pattern completely math free!!!!
Roll a piece of paper into a cone. place cone through your two circles with the bigger tip circle at the wider end and the smaller brim circle at the narrower end. Use a vivid or pen to trace around each circle and down the join in the paper (see picture above)
unravel the paper and you should have a traditional crown half circle, add a 1cm overlap the one end of the crown (see picture)
Cardboard base
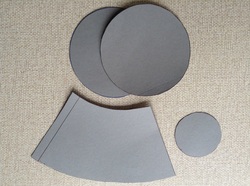
Use a sturdy but flexible card. In this particular hat I have used an old manila envelope, but in the past I have used everything from a cereal box to the cover off an old exercise book.
Cut 2 circles for the brim
1 circle for the tip
1 crown piece *tip - make sure you place the crown piece in line with the grain of the card otherwise you won't get a smooth finish when you bend the crown.
Fabric
Cut 2 circles for the brim
1 circle for the tip
1 crown piece *tip - make sure you place the crown piece in line with the grain of the card otherwise you won't get a smooth finish when you bend the crown.
Fabric
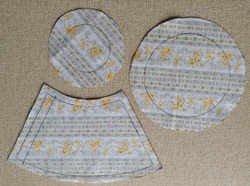
These hats can be made out of almost any fabric, this particular hat is made of cotton.
Crown - cut 2 (adding a 1cm seam allowance all the way around
Brim - cut 2 (adding a 2cm seam allowance)
Tip - cut 1 of padding and 1 of fabric (adding a 2cm seam allowance)
Cut
Crown - cut 2 (adding a 1cm seam allowance all the way around
Brim - cut 2 (adding a 2cm seam allowance)
Tip - cut 1 of padding and 1 of fabric (adding a 2cm seam allowance)
Cut
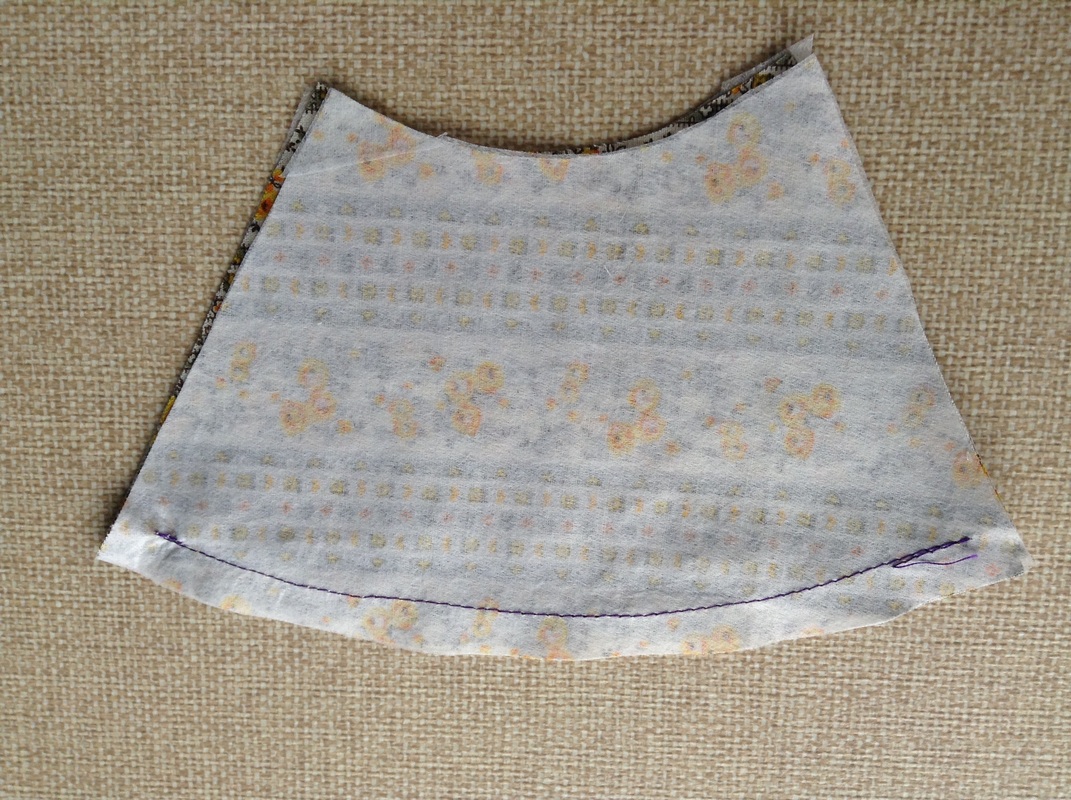
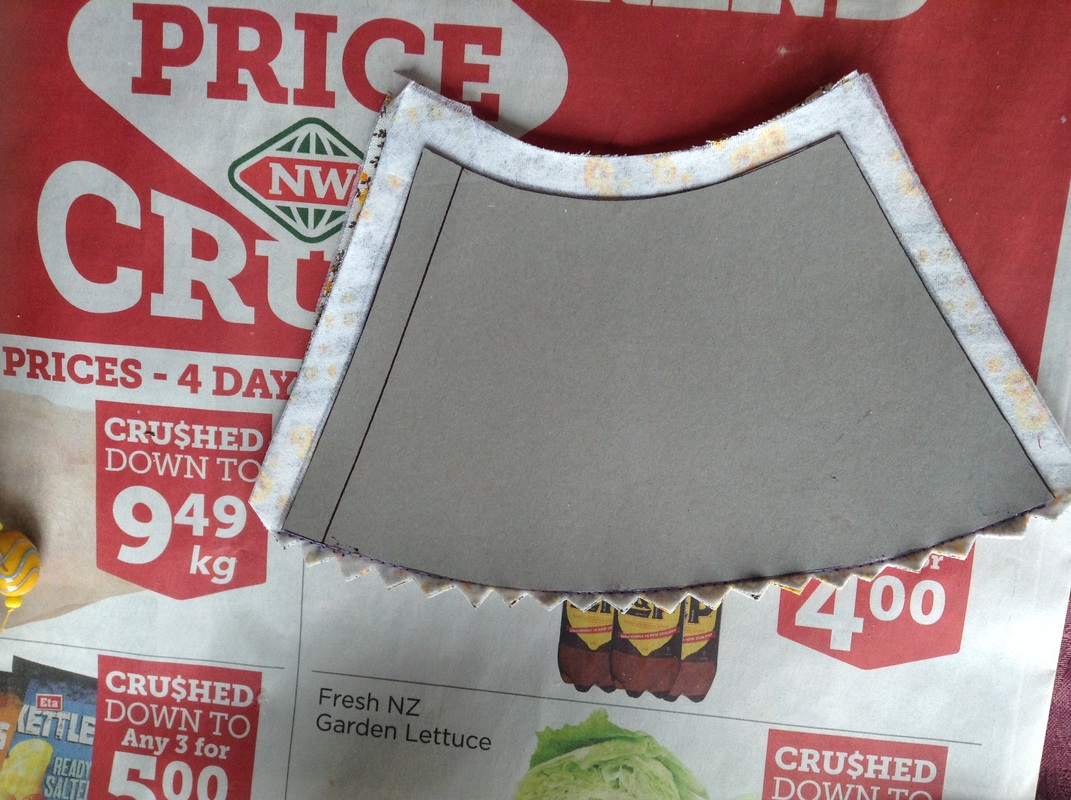
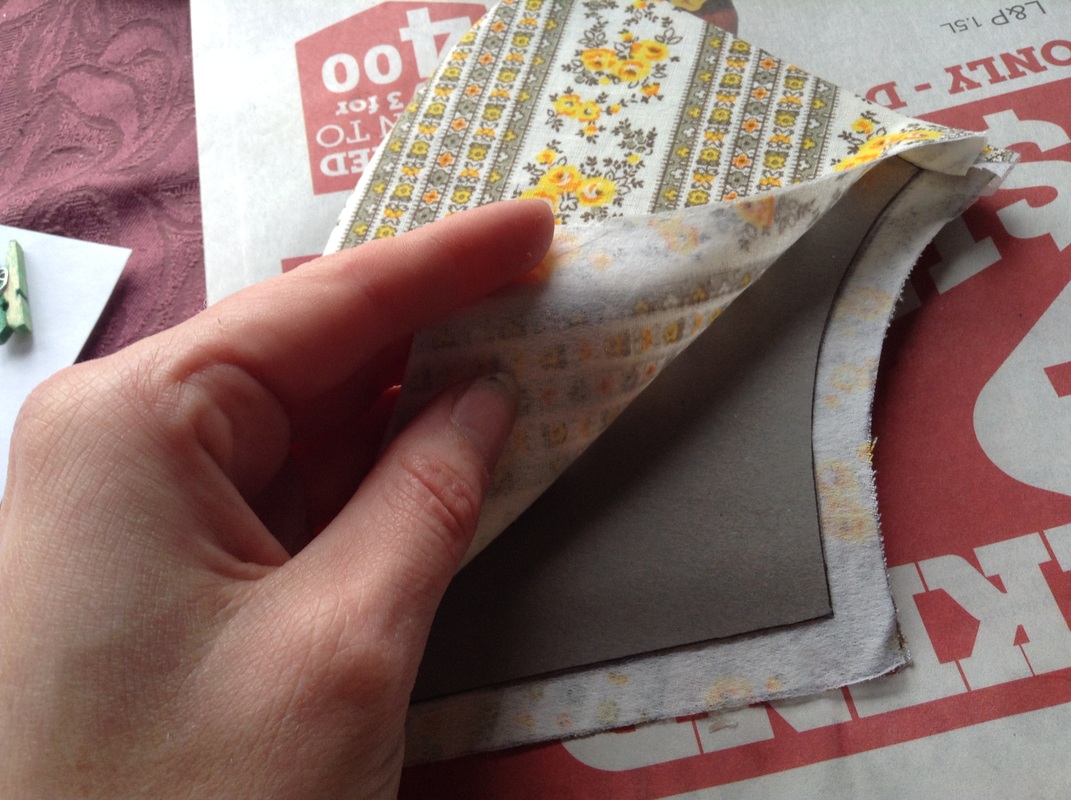
Iron interfacing onto wrong sides of the crown pieces (this step is optional but does give the hats a more professional look) Sew the two crown pieces along the top edge (right sides together) then clip the edges (see picture above)
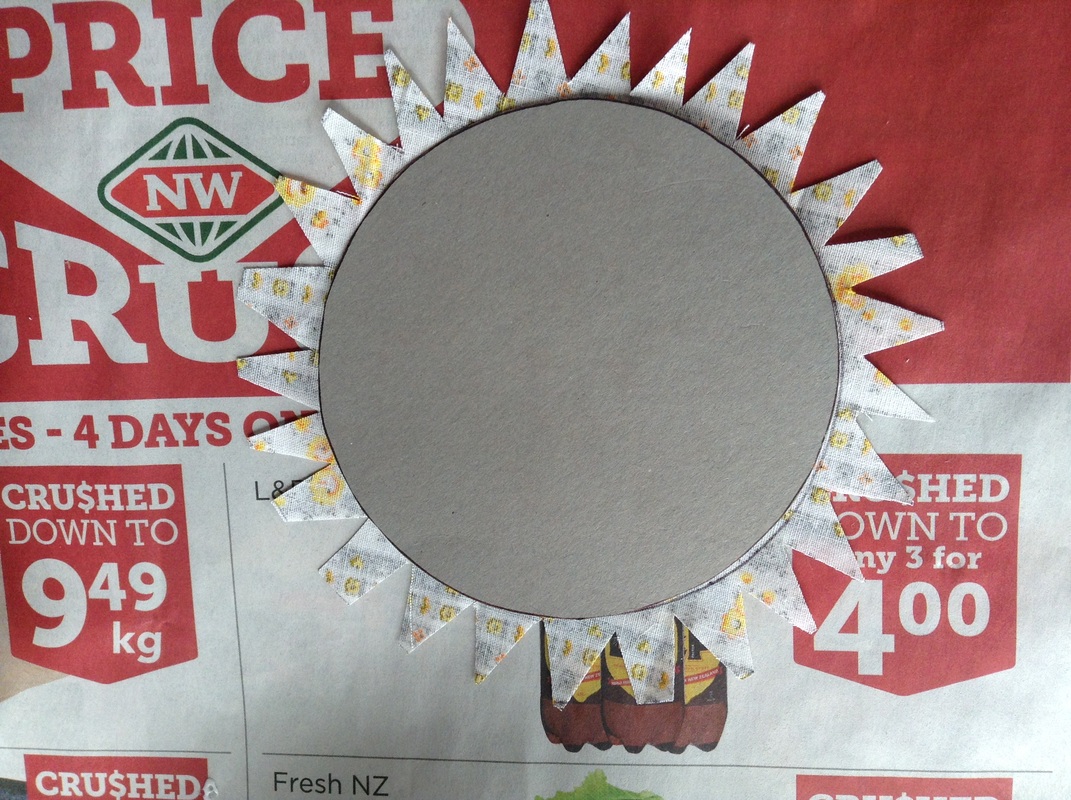
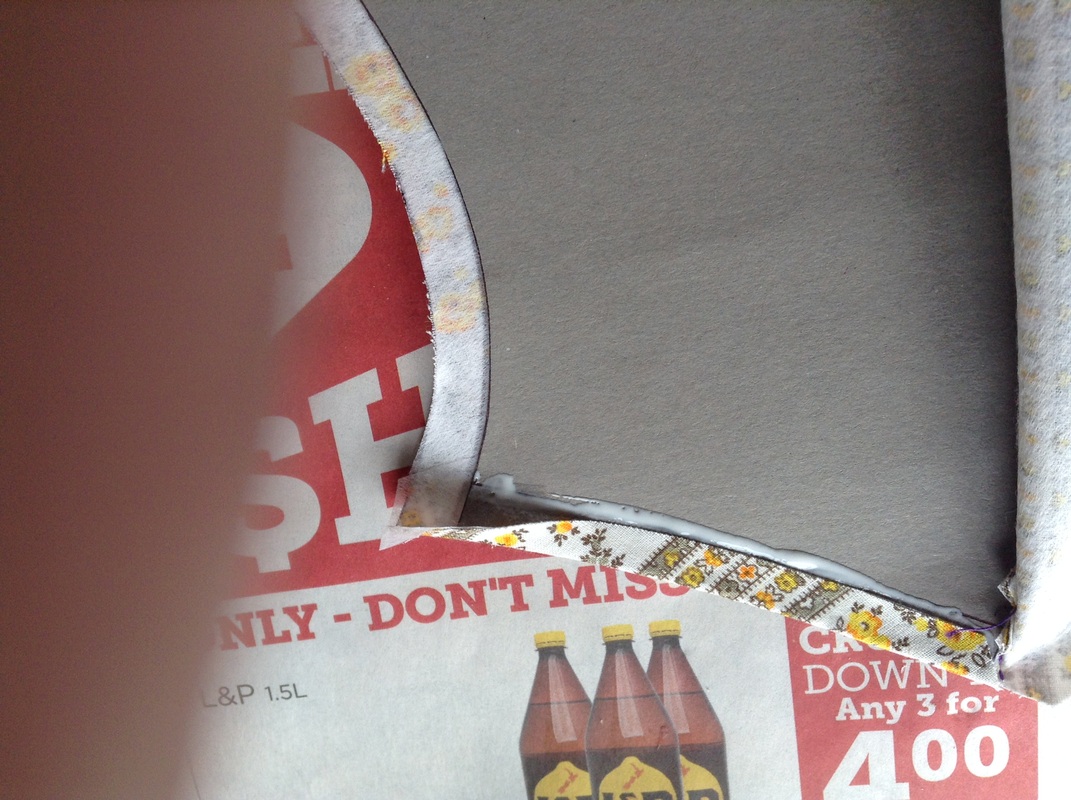
Clip around seam allowance of brim and tip circles to make tabs. You can see in the picture it looks like a funny looking asterisk.
*Tip don't clip all the way to the card edge leave about 1-2mm, this should stop ant frayed edges from showing.
Glue
Clip around seam allowance of brim and tip circles to make tabs. You can see in the picture it looks like a funny looking asterisk.
*Tip don't clip all the way to the card edge leave about 1-2mm, this should stop ant frayed edges from showing.
Glue
Glue padding to card on tip piece. *tip- if you then place the tip under a jar with a domed base the tip will form a domed peak, which adds a nice finishing look to the finished hat.
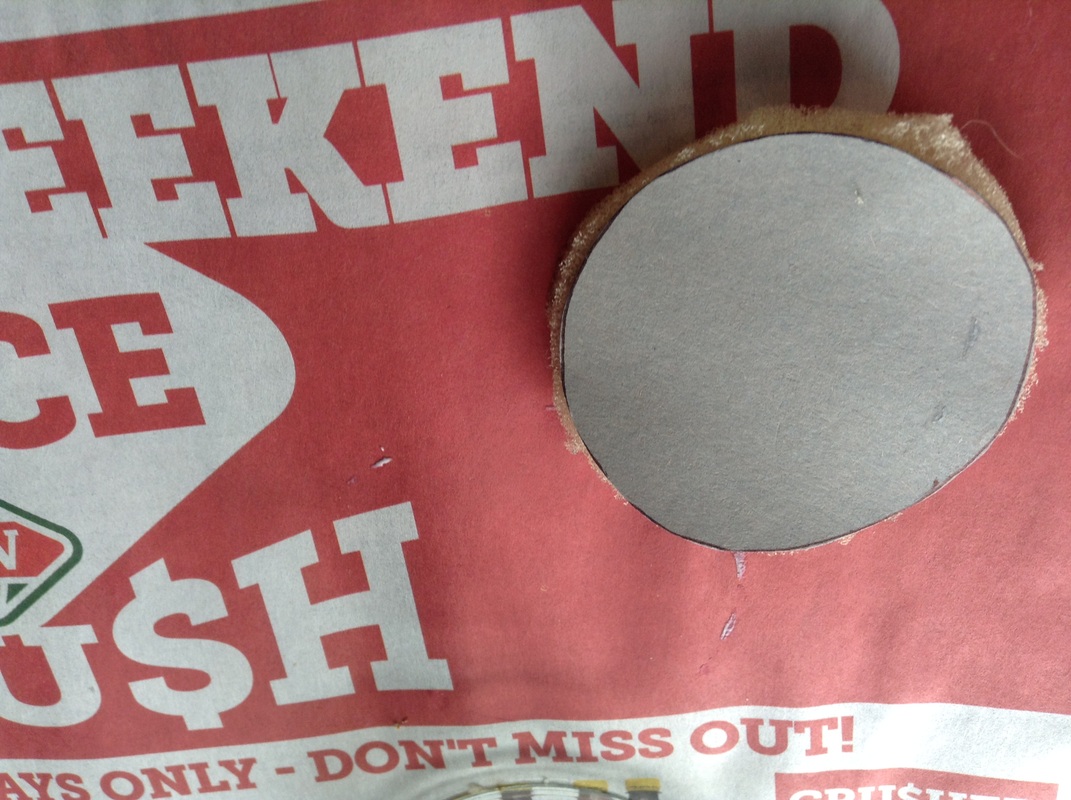
On brim and tip circles fold and glue the tabs you clipped earlier. (see picture)
Glue the two brim pieces together and place under a weight so they dry flat.
On brim and tip circles fold and glue the tabs you clipped earlier. (see picture)
Glue the two brim pieces together and place under a weight so they dry flat.
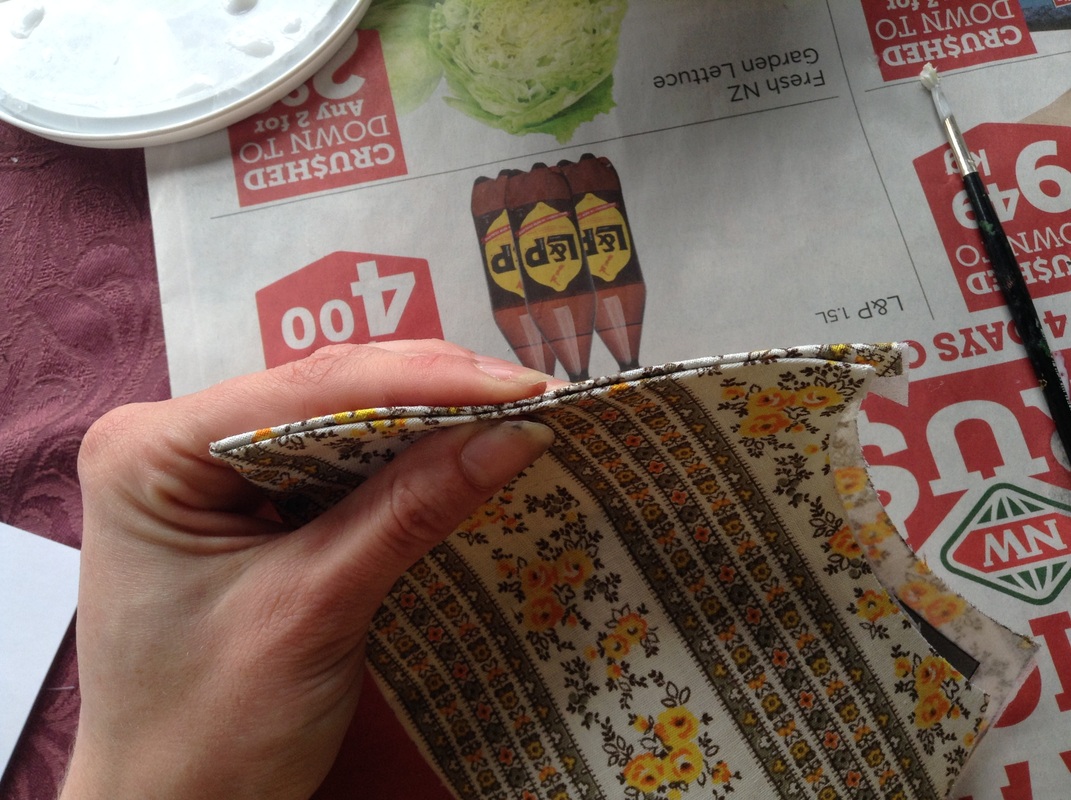
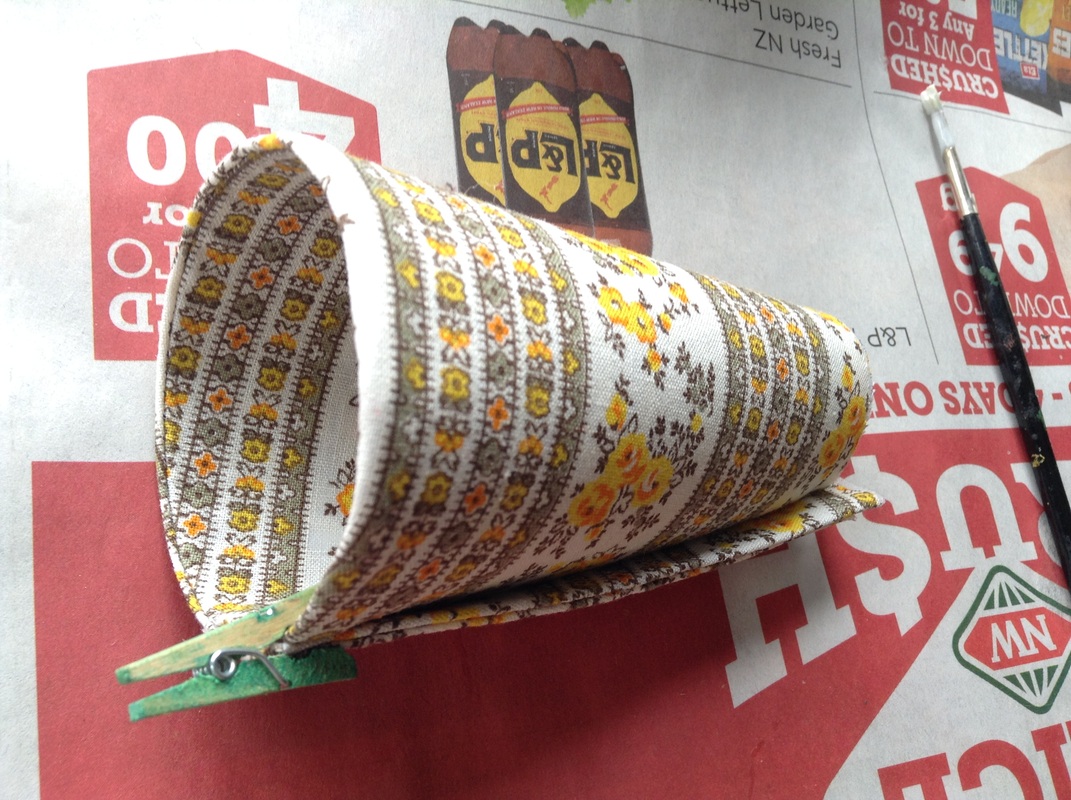
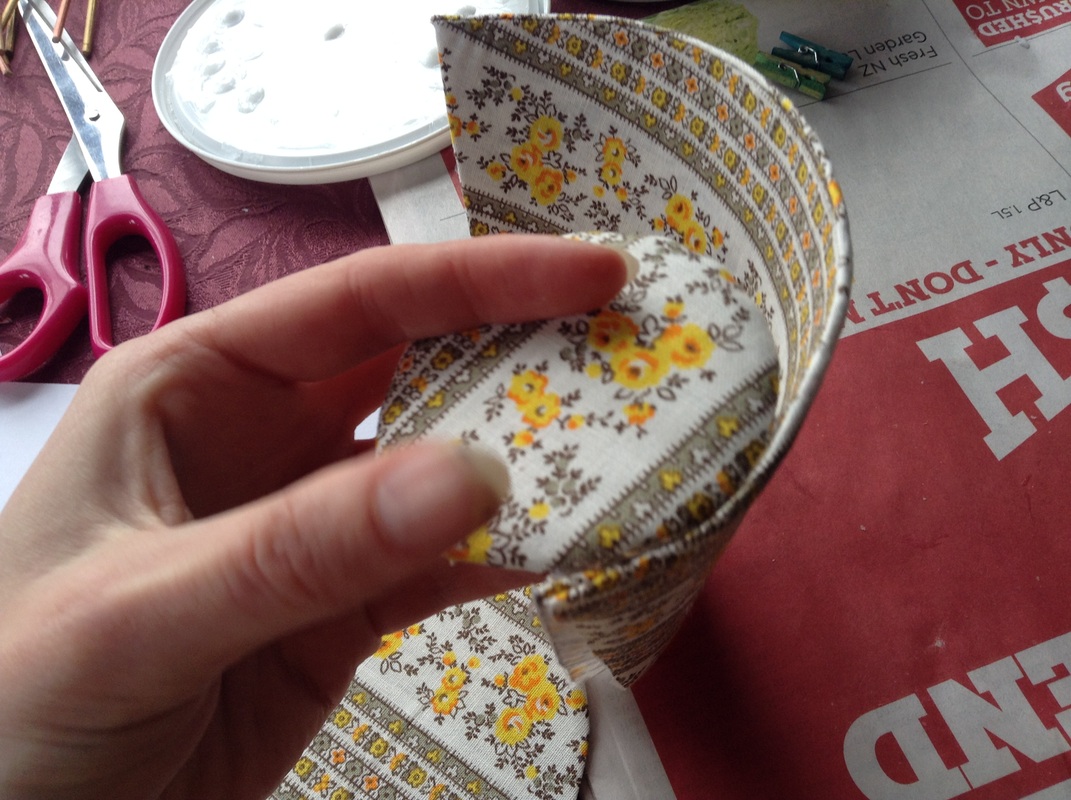
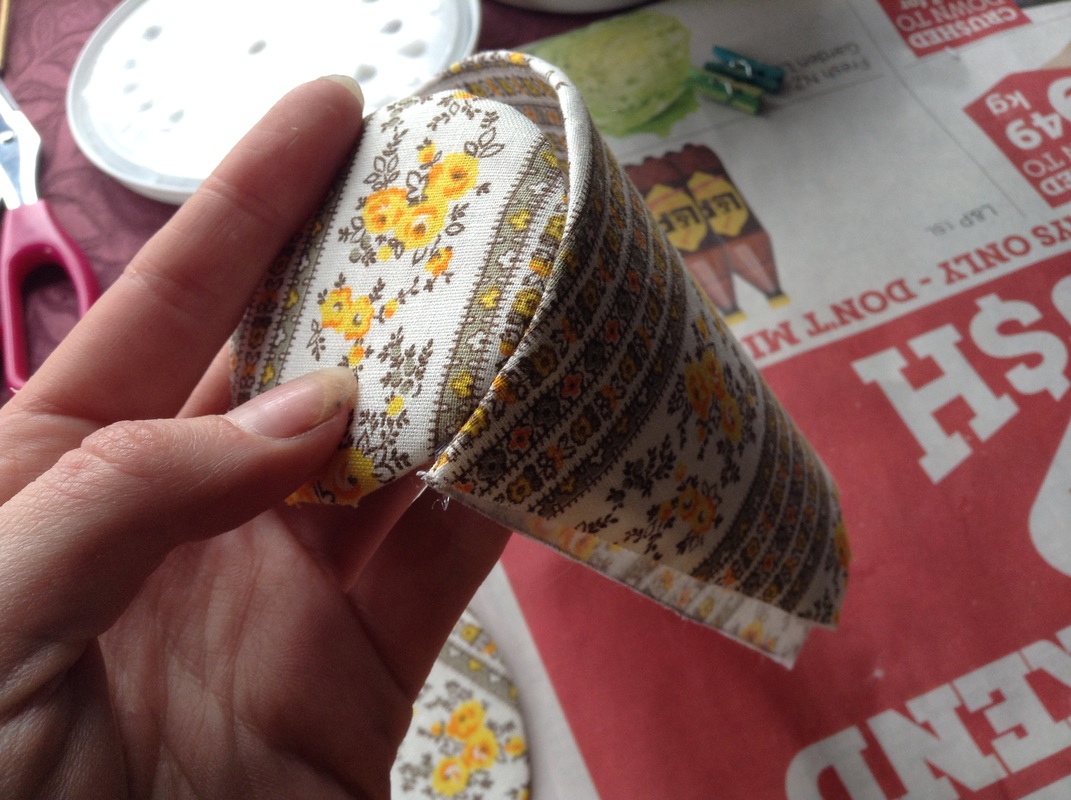
Glue the crown to the wrong side of the fabric, keeping the card below the seem you made earlier (see picture above) Glue the card to the side like the least because this side will become the inside of the crown.
Turn the fabric over and glue down the edges on one side of the crown (see pictures above) this will be the overlapping outside edge.
*Tip- to make life easier roll the crown while it is drying.
Putting the pieces together
Turn the fabric over and glue down the edges on one side of the crown (see pictures above) this will be the overlapping outside edge.
*Tip- to make life easier roll the crown while it is drying.
Putting the pieces together
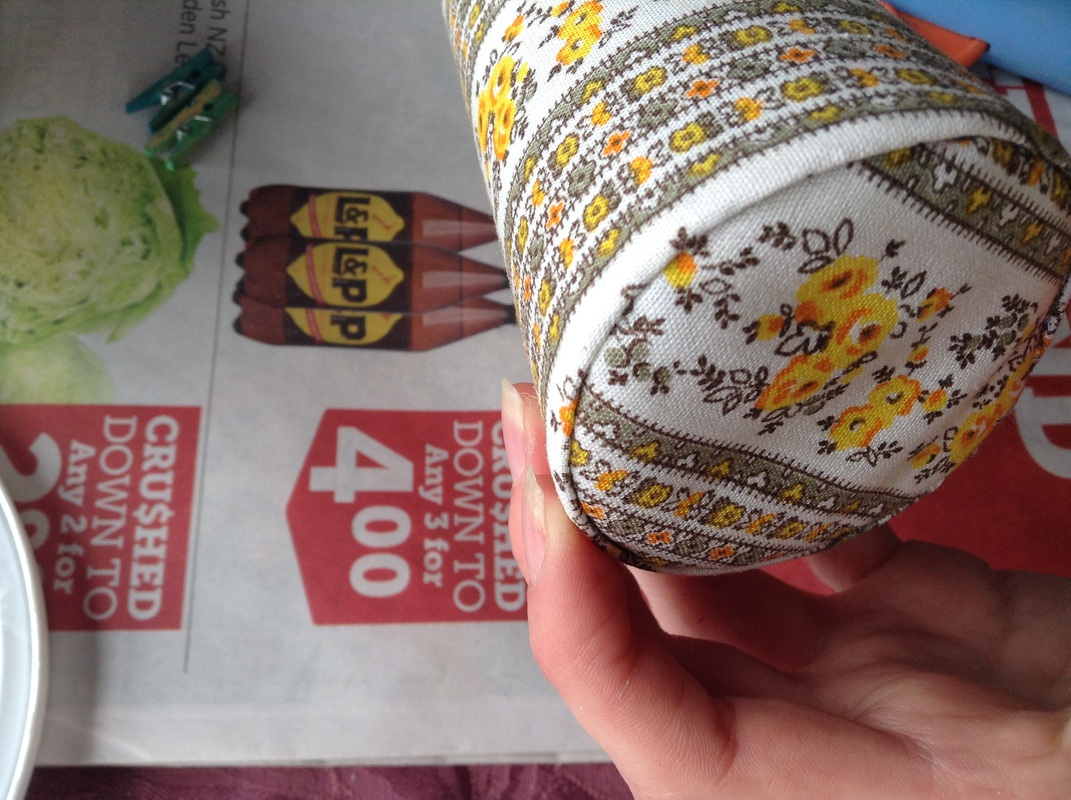
Using a h0t glue gun glue the tip to the top of the crown. I start at the unfinished and of the crown and work my way round to the finished end, allowing the finished end to overlap the unfinished end. (see pictures)
Glue down the side of the crown.
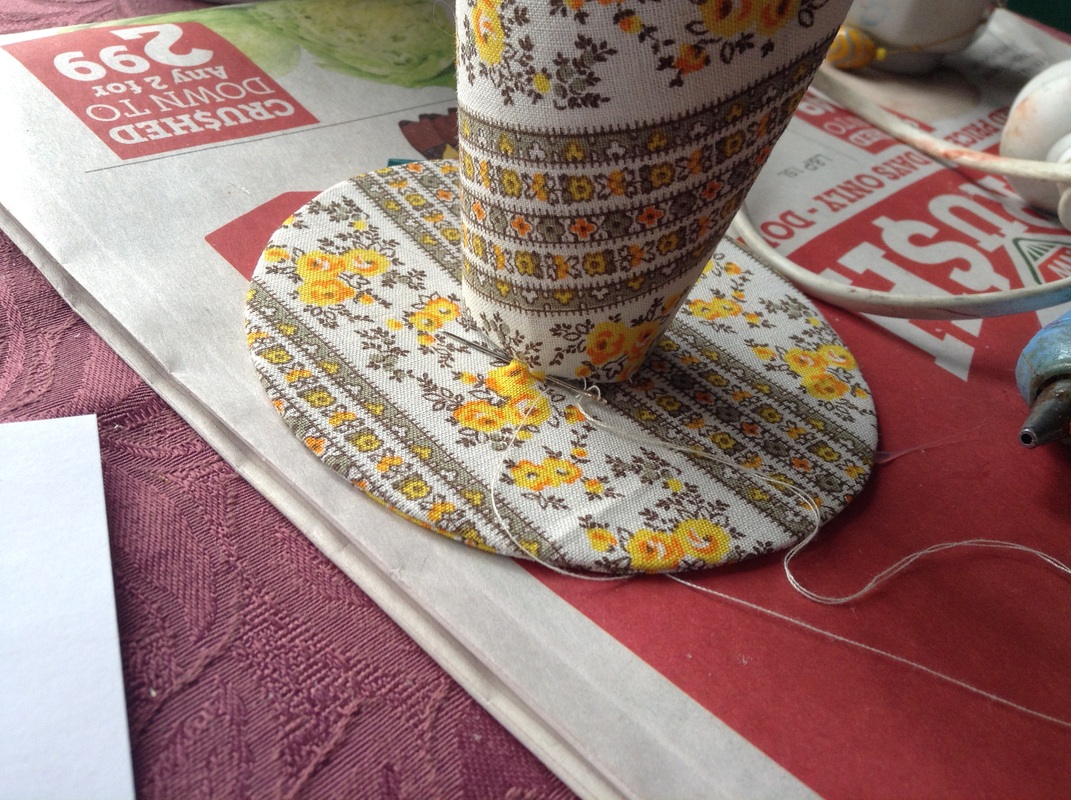
Fold over the rough edges at the end of the crown then sew the crown to the brim.
Decorate
Glue down the side of the crown.
Fold over the rough edges at the end of the crown then sew the crown to the brim.
Decorate
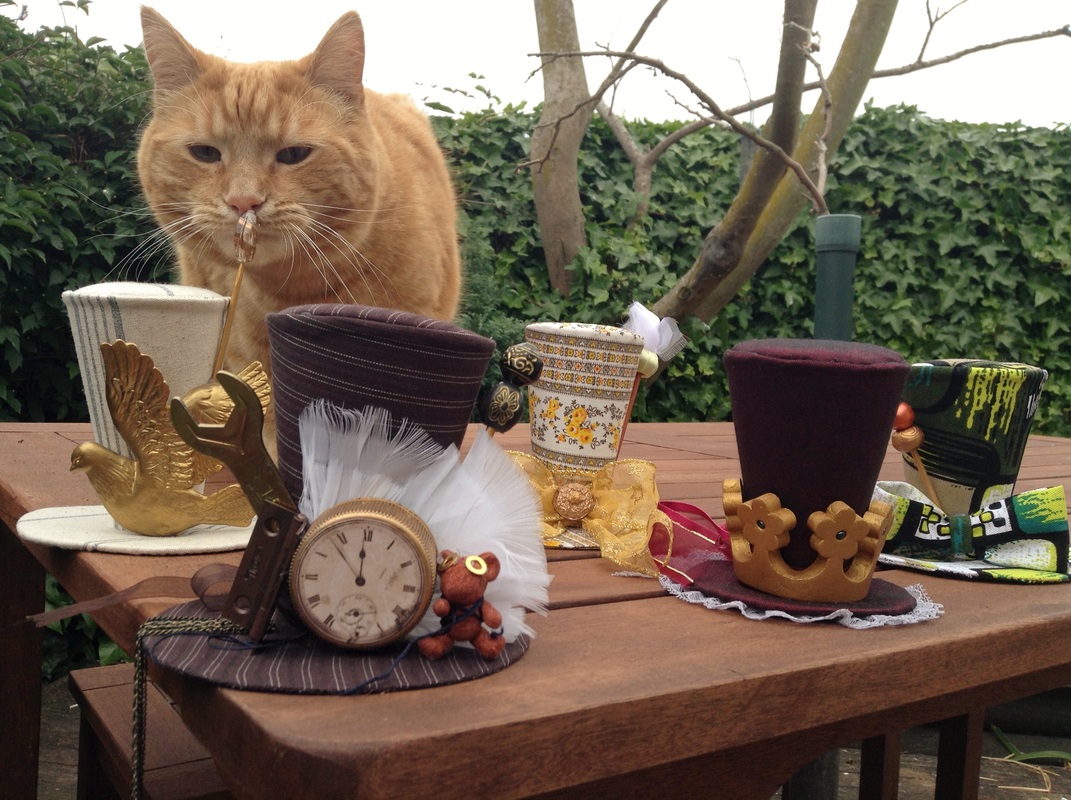
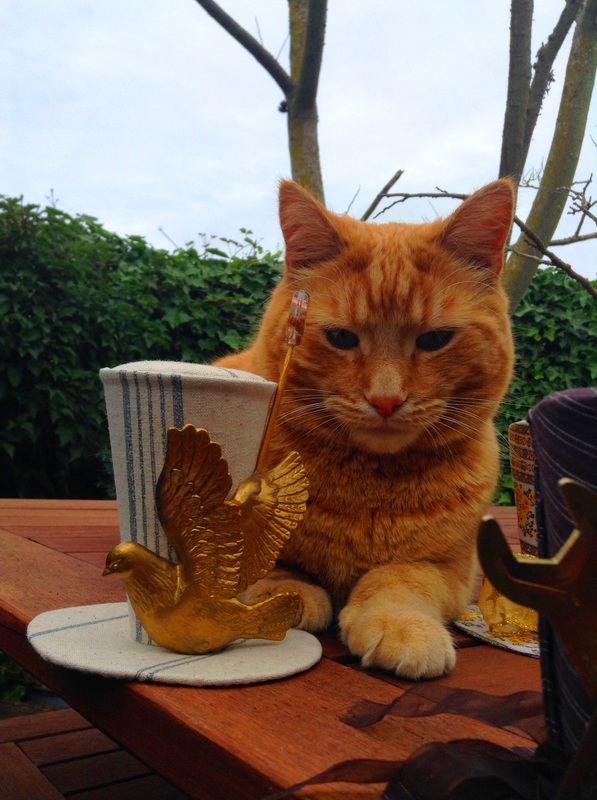
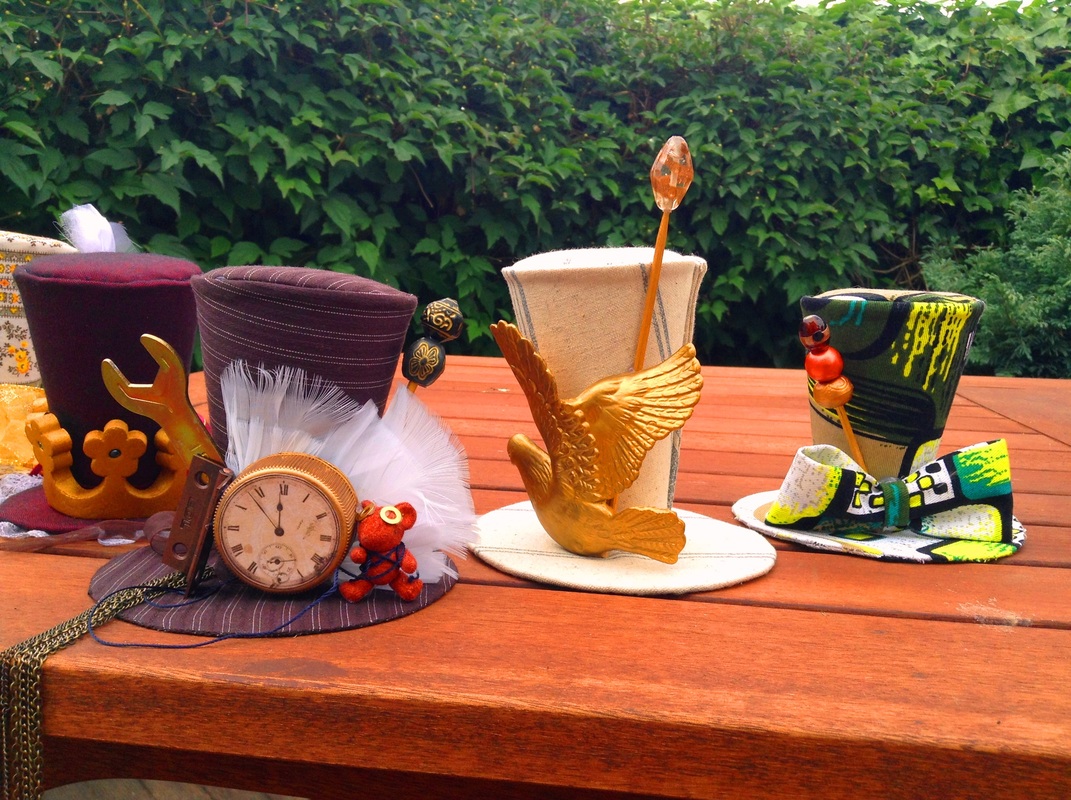
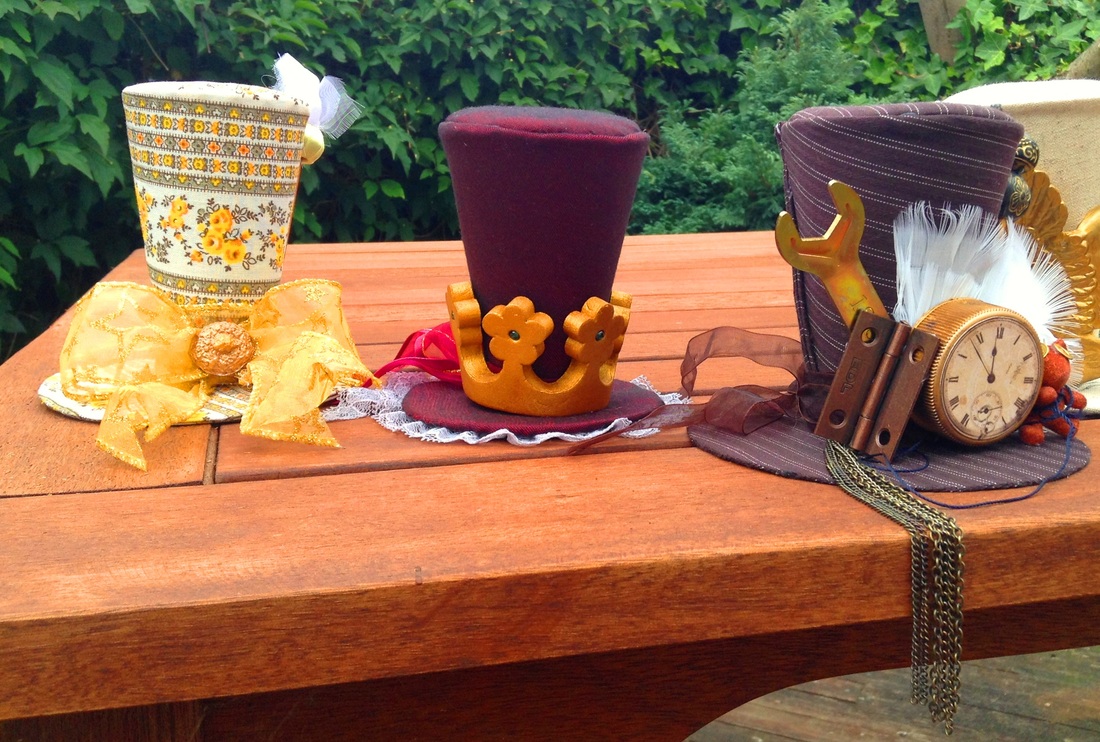
Time to go wild . Use ribbons, beads, feathers, acorns, leaves, bows. Whatever you like to decorate your hat.
After you have decorated your hat to your satisfaction you just need to glue it to your hairclip or headband of choice. Then its fit to wear.
After you have decorated your hat to your satisfaction you just need to glue it to your hairclip or headband of choice. Then its fit to wear.
 RSS Feed
